Hiking The Inca Trail To Machu Picchu In 4 Days
For years I had dreamed of seeing Machu Picchu but the idea of hiking up such a colossal mountain made me hesitate on booking a flight. Until this trip I had never considered myself a “hiker.” I didn’t own hiking boots, a backpack or anything waterproof. I love a lavish hotel and can’t live without a manicure (I AM WHO I AM Y’ALL). I always thought that hikes were meant for people who lived and breathed the outdoors and went camping every weekend. Well, hikes are for EVERYONE. No matter who you are or where you come from, I want you to know that hiking Machu Picchu is totally possible. This is my complete guide to conquering one of the seven wonders of the world as a 1st time hiker.

Pre-Trip: When planning this trip, the first order of business was buying appropriate hiking gear. DON’T SLEEP ON THIS STEP. This is super important…and expensive. I went to REI and The North Face and shelled away some coins to purchase a solid hiking backpack that could hold about 10 lbs, proper hiking boots, a camelbak for water, water proof jackets and pants, wool socks, leggings, first aid, water purifying pills, snacks, hats, sunscreen, BUG SPRAY BUG SPRAY and MORE BUG SPRAY.
Pro Tip: While packing your backpack, it’s important to distribute the weight evenly. Since this was the first hike I had ever done, I clearly had this all wrong. Thankfully a friend came over and helped me out. Roll your clothes and stack them but make sure that heavy things are not all on the left, right or bottom, but evenly placed throughout the bag.
Pro Tip: If you don’t have a camelbak for your water and you decide to use a water bottle, be sure not to hook it to the left side of your bag for the whole trek because this will weigh you down unevenly on those long hikes. Not great for your back or hips! Switch it every day or every few hours to try to even it out. I really advise going the camelbak route though!
I booked my hike through Local Trekkers Peru, who were highly recommended by a friend who is a local Native Peruvian so I knew she had the inside scoop on the best tour. Since this was a solo trip, I wanted to make sure I was safe and surrounded by a group of people for this hike. This was the perfect tour group and I’ve got friends for life from this hike! Let’s get into the daily itinerary.
Day 1: Depart at 7am and head to the top of Abra Malaga where you’ll be strapping on mountain biking gear for a three hour and a 2,000-meter decent down a mountain. FYI, I had never been mountain biking before, so best believe I was nervous as hell when it started pouring rain the second we started biking DOWNHILL. Thankfully no one got hurt and we were all able to brake the whole way down the mountain. Everyone was laughing at me for wearing water proof pants, but look who came out on top. ME.

Day 2: The toughest day of the trek - 9 hours of hiking uphill. As tough as this day was, there were stops along the way for resting, face painting with local kids in the jungle, and even a tour of a cocoa plantation. You’ll feel this day in your thighs for sure. This is also the day you start the official Inca Trail! This trail is rich with so much history and you can feel the magic in the air because this is truly one of the most special trails on Earth. After you ascend the Inca trail you’ll head to the Urubamba river and take a cart and pulley across. It’s a bit rickety but safe! Plus the best part is on the other side, a HOT SPRING! Rest those weary legs in the Santa Teresa Hot Springs.

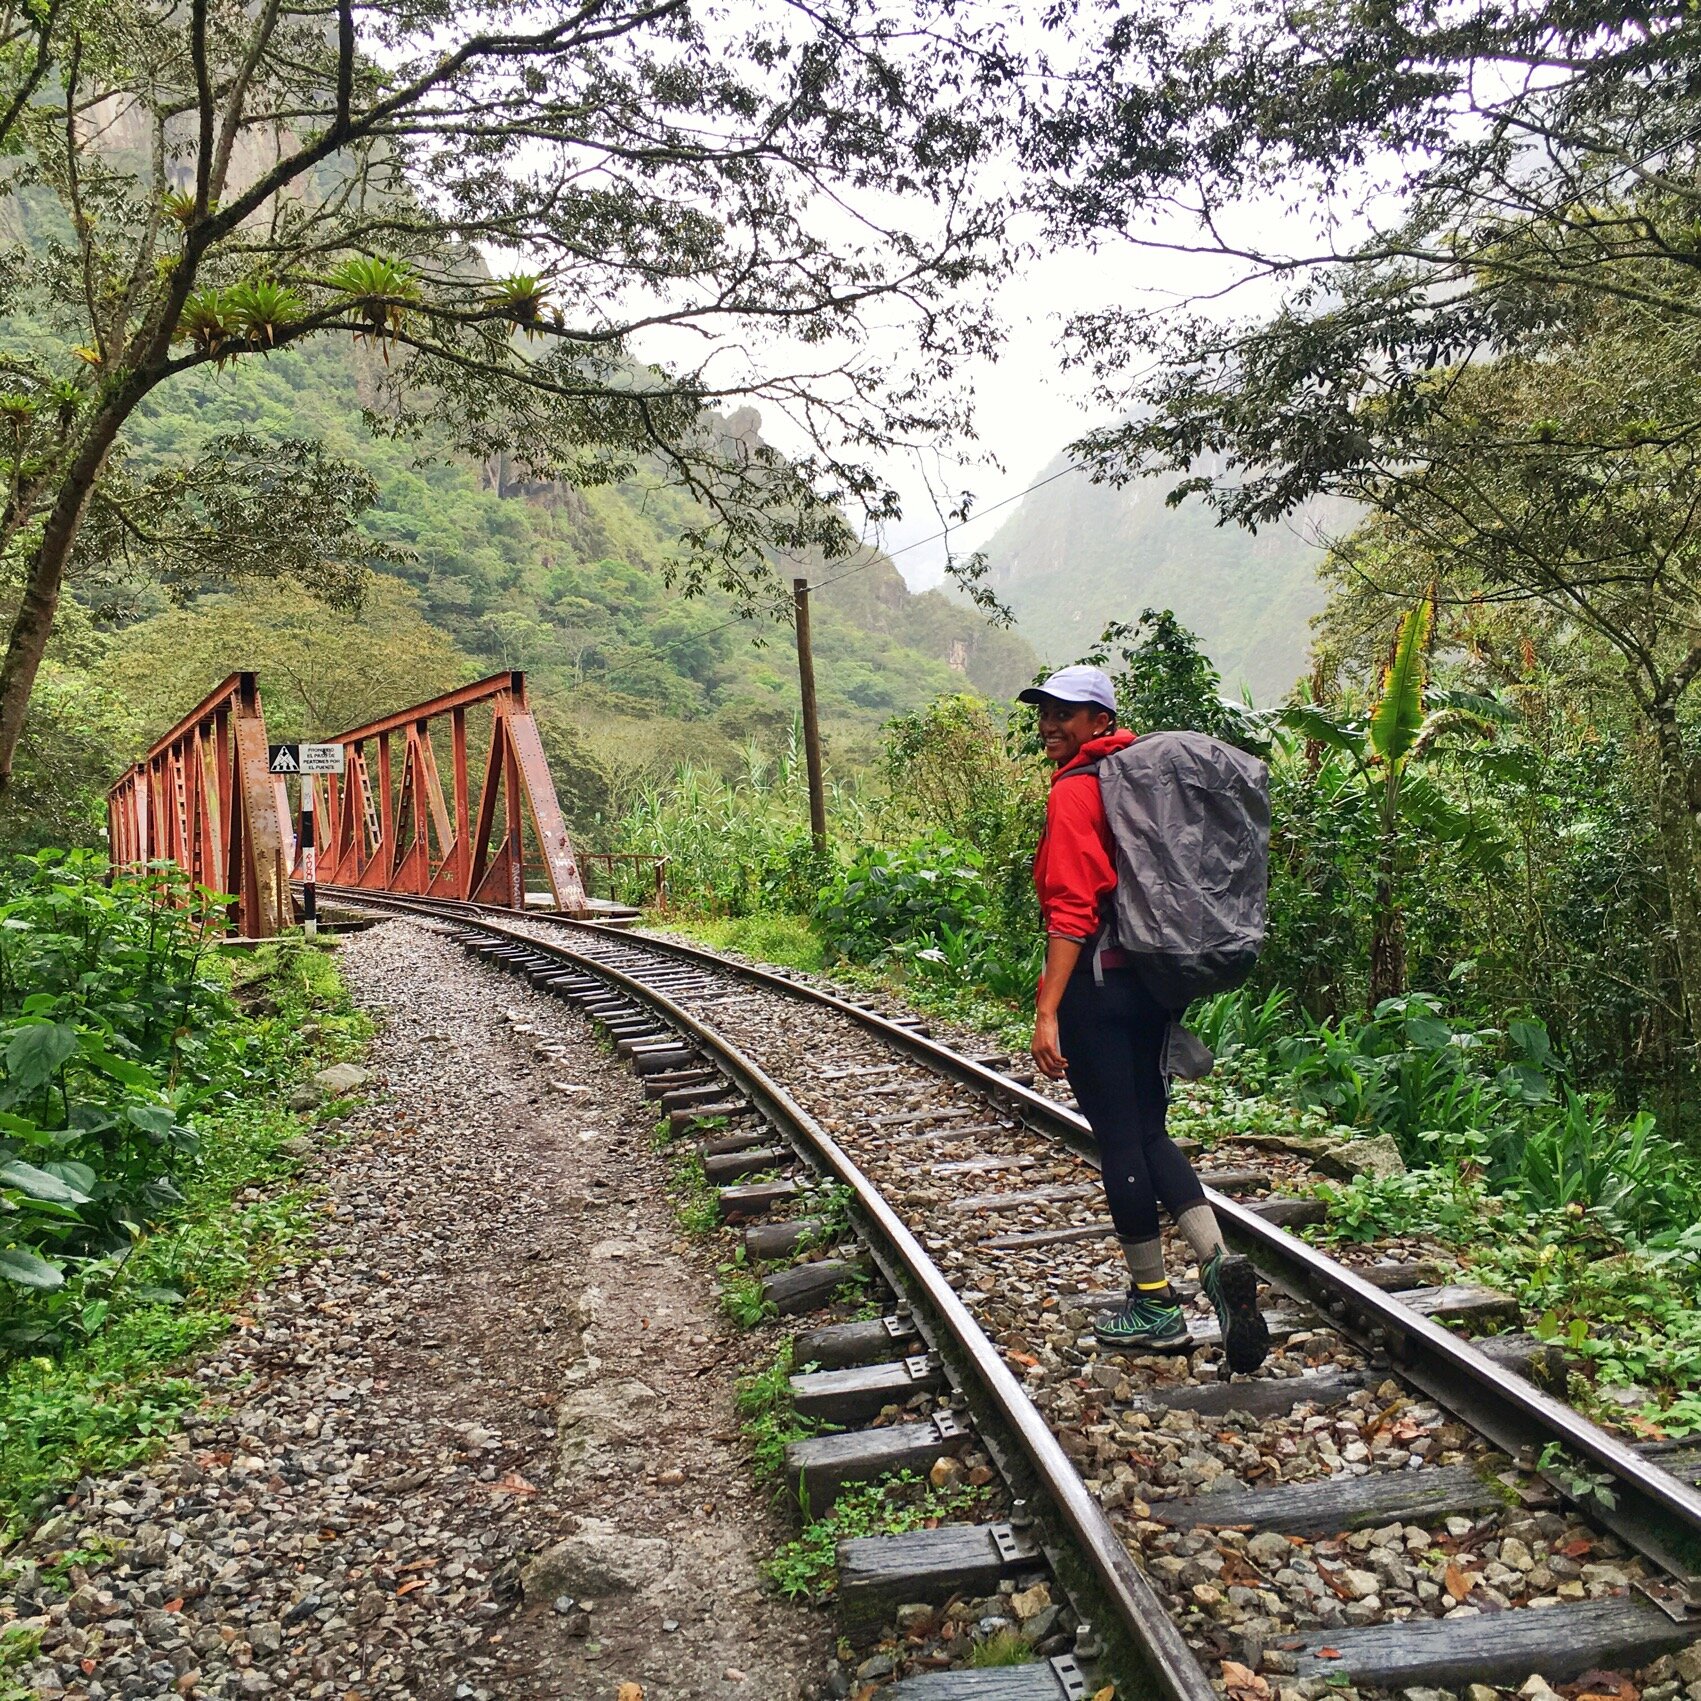
Day 3: Congratulations the hardest parts are over! Sort of. On the third day you’ll get to zip line for a part of the trek which is a welcomed break for your legs. After zip lining, you’ve got about 3-4 more hours of hiking along the train traks to get to Aguas Calientes. This is the first sign of civilization as you start seeing the trains of luxury passengers whizzing past you as you drag your tired self onwards towards Machu Picchu. Thankfully at the end of day 3 you’ll have a nice bed in Aguas Calientes and a real meal!

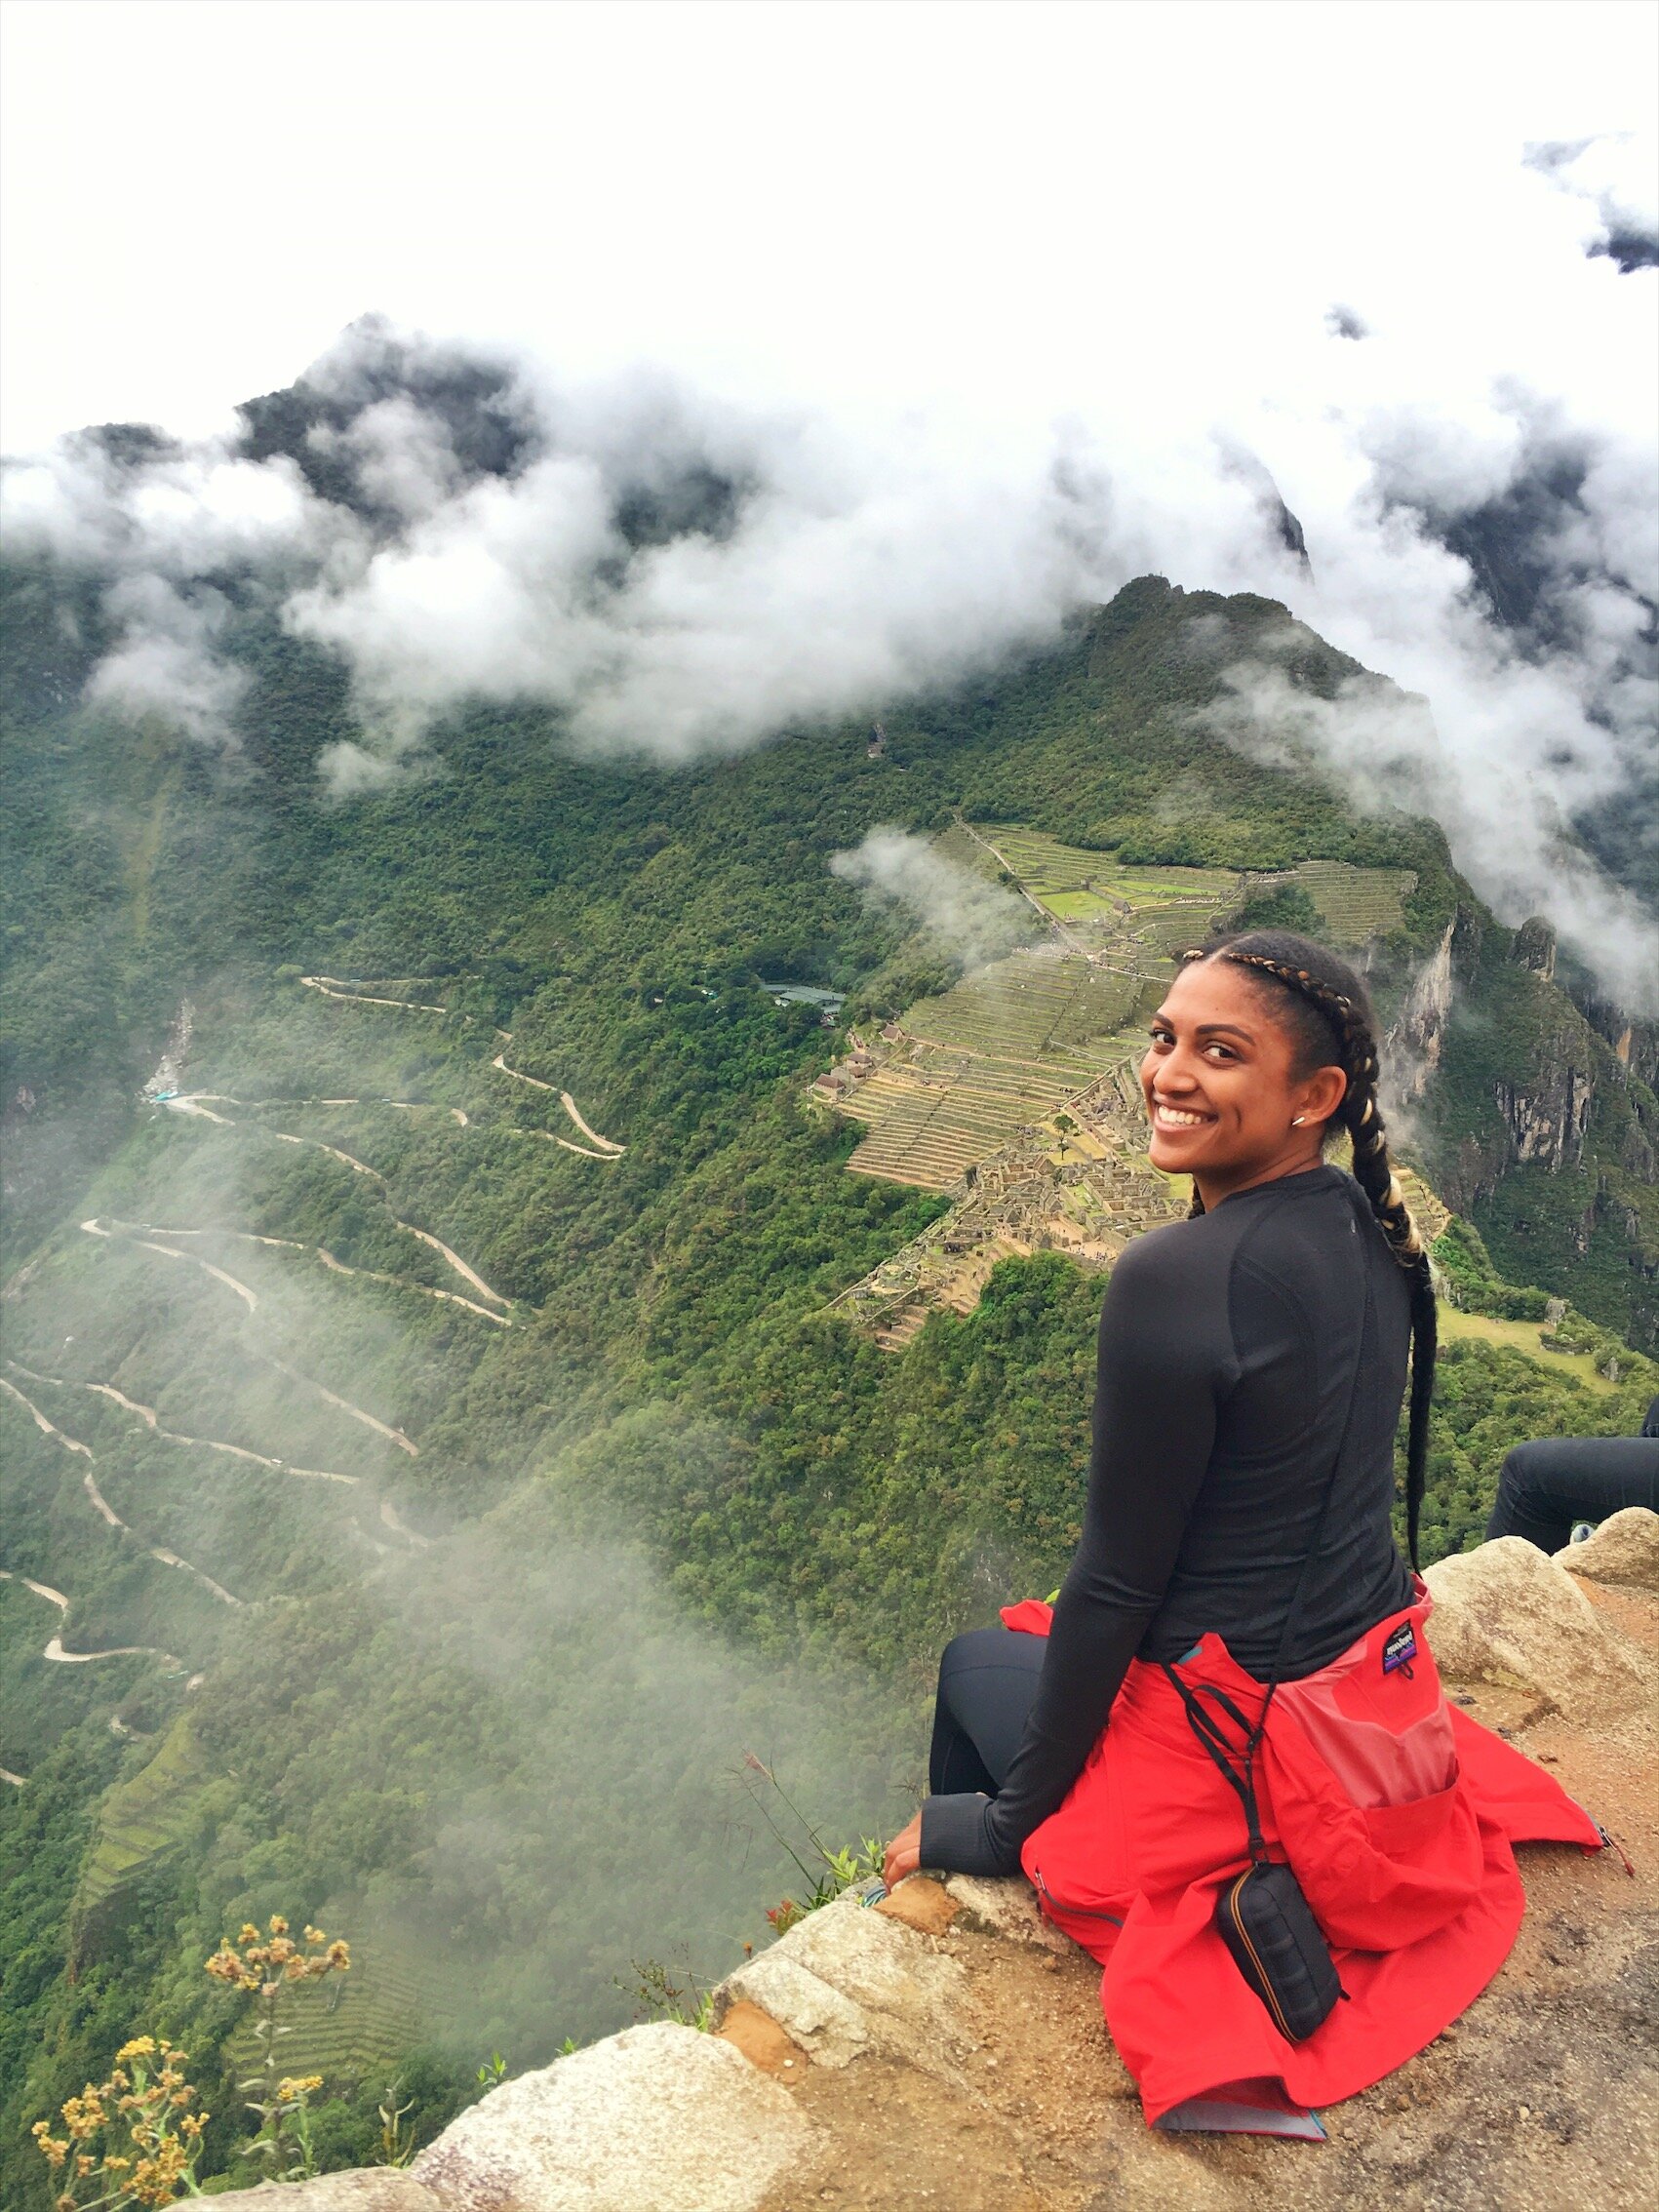
Day 4: No time to waste - get to Machu Picchu. Most of my group decided to hike up the 2 hour trek to the gates of Machu Picchu. But after 3 days of nonstop hiking, my new friend and I decided to take the bus at 3am instead. Look, I did the damn hike, I am not too proud to take the bus the last bit. Because I had done my research, I made sure to get my ticket to Wayna Picchu which is the sister mountain to Machu Picchu. Ever wonder how tourists are always sharing those awesome shots overlooking Machu Picchu, it’s because they’re on a completely different mountain. I was the only person in my group who had a ticket, so no one else could join. You need to get your ticket to this mountain WELL in advance. They only allow about 100 people on a day and there’s a 2 hour time limit to your hike up and down. Since I knew I had more hiking to do than the rest of the group, I enjoyed every second of that short bus ride!

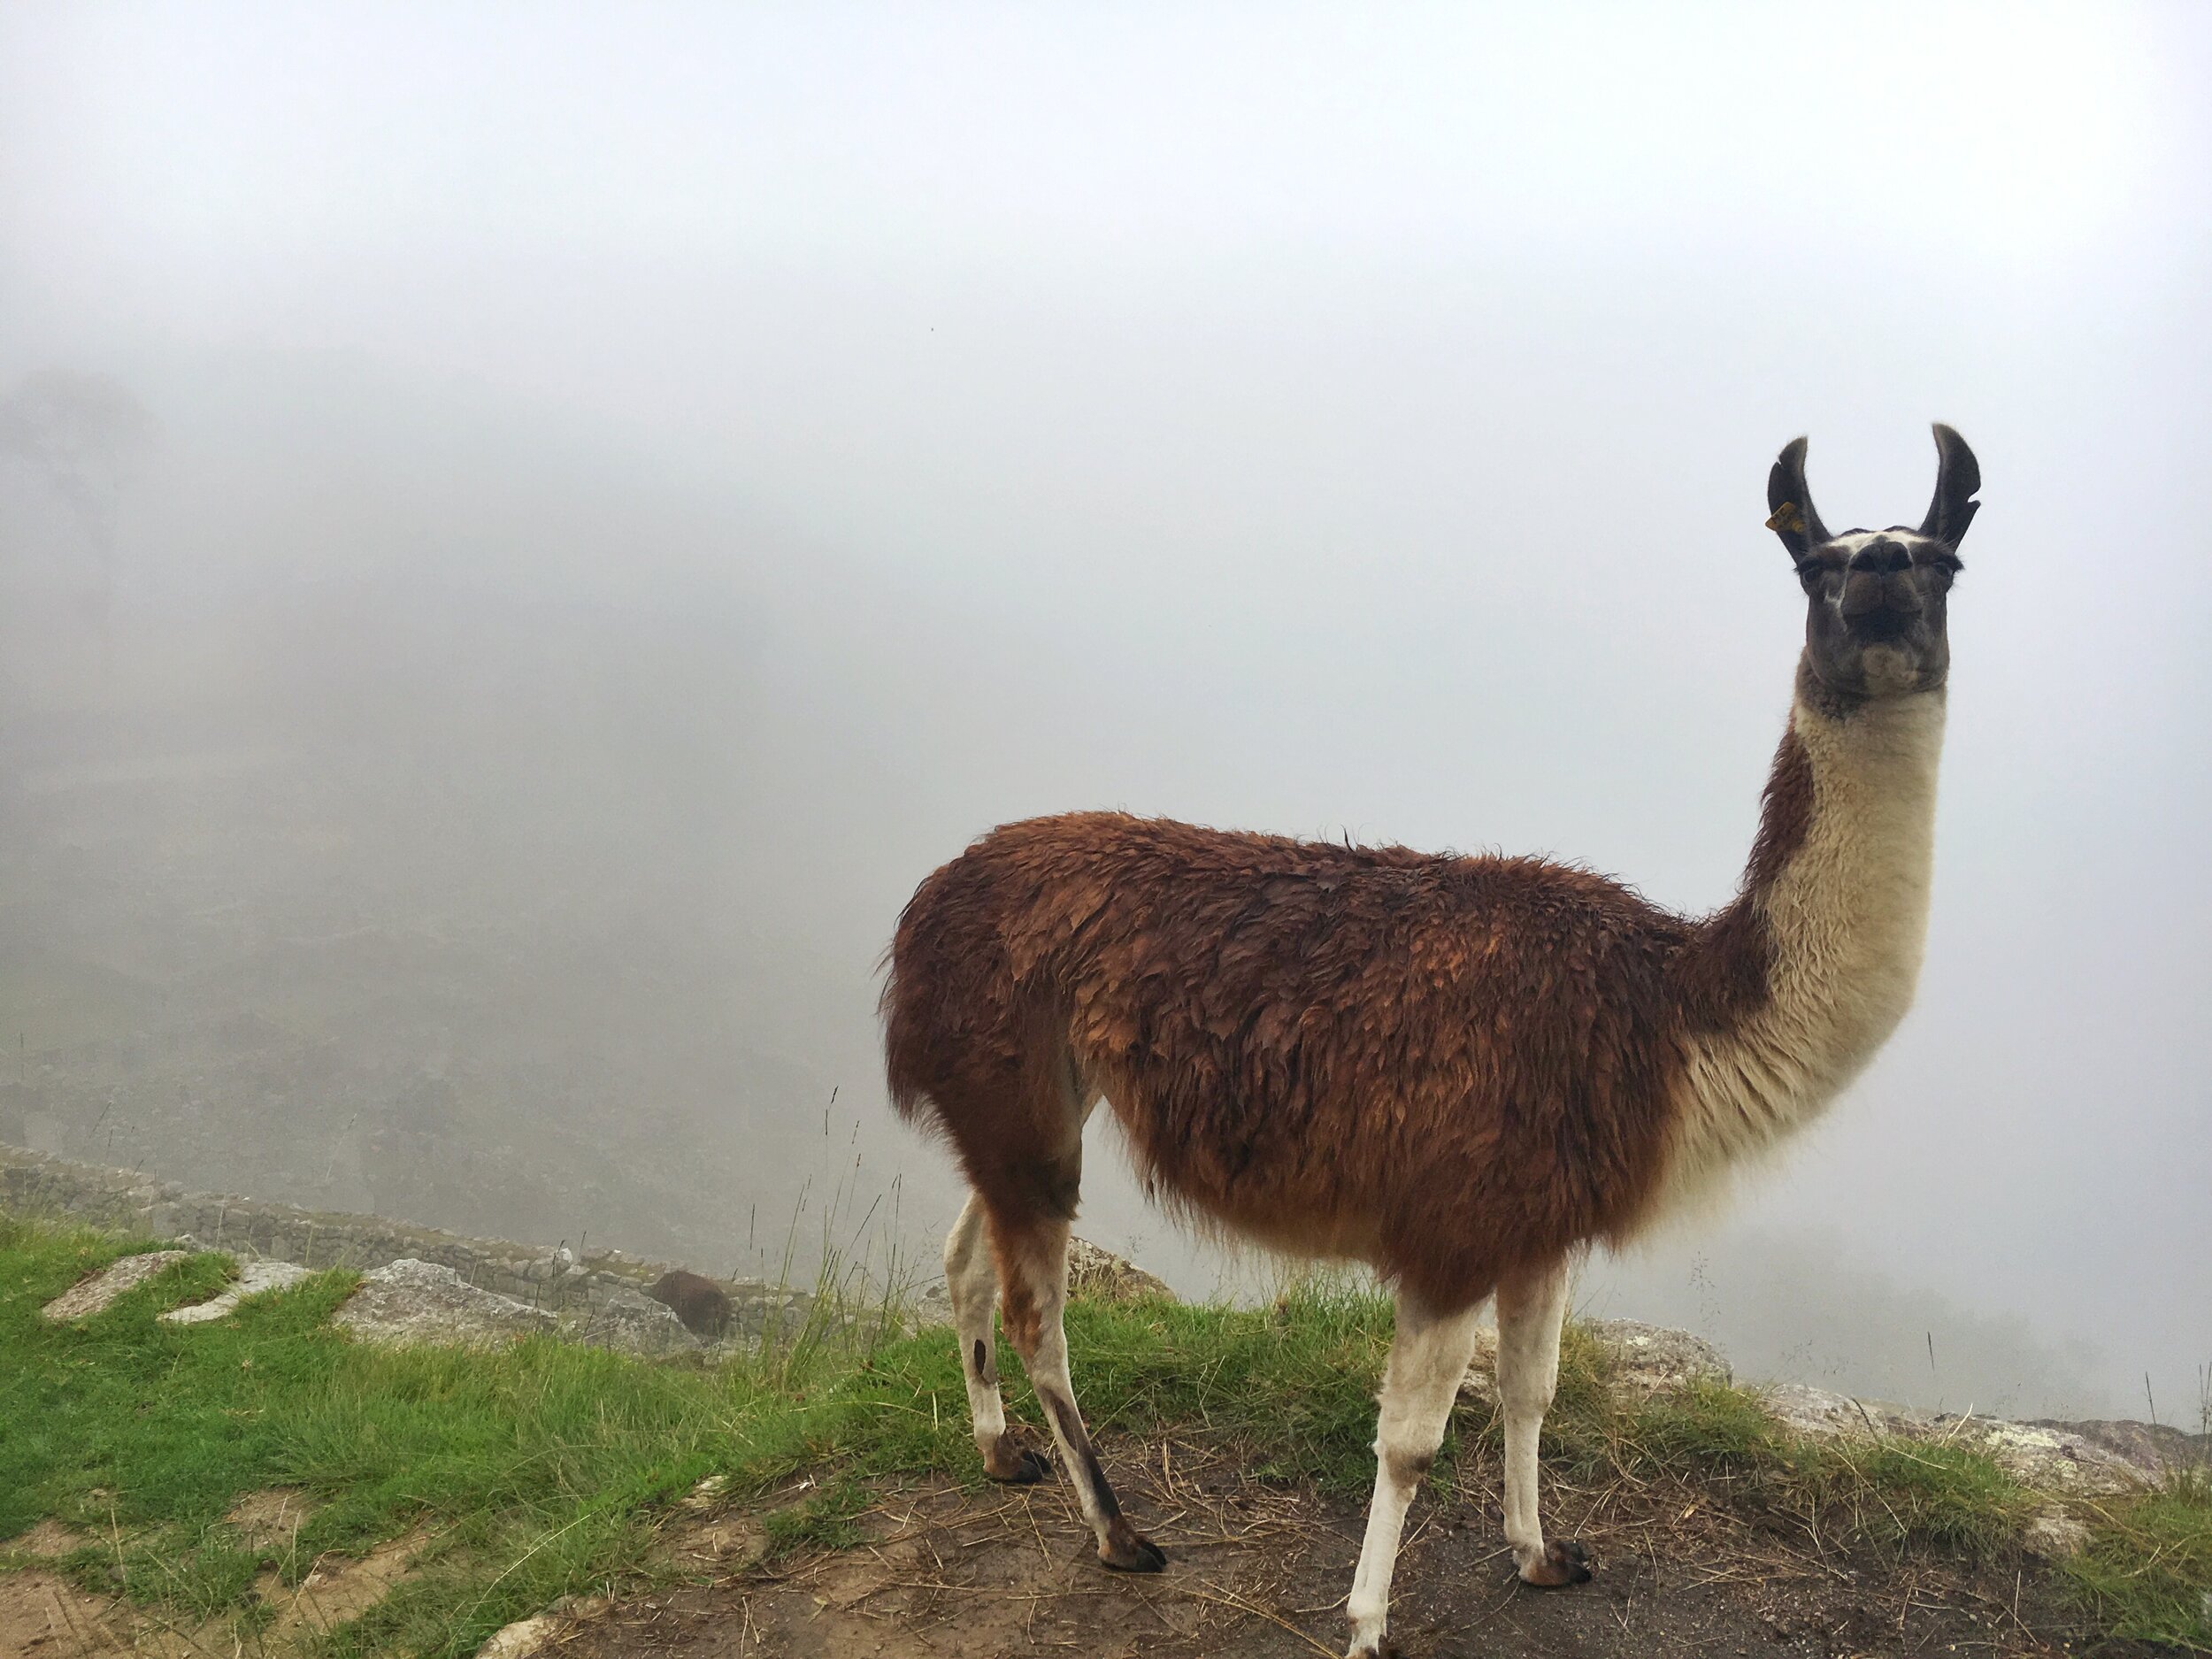
Something they don’t tell you about Machu Picchu is that there can be an insane amount of fog and sometimes can’t even see the mountain. I mean, look at this photo guys, I was so bummed. But I waited until the last second and finally the clouds moved and I got to gaze upon the wonder that is Machu Picchu. 4 days of hiking was all worth it!
Day 5: Head back to Cusco via train. I knew after a week of hiking that I deserved my luxuries again, so I booked the glass ceiling train for my way back to Cusco. You can view the beautiful rainforest and rivers around Machu Picchu, eat a snack and take a well deserved nap in a comfortable seat.

I can’t express enough how incredible this hike was and I encourage you all to go! If you have any questions, leave me a comment below!


